Using a silicone dome mold, spoon a layer of melted chocolate into each cavity, ensuring to coat the sides evenly.
Place the mold in the fridge to set for about 10-15 minutes.
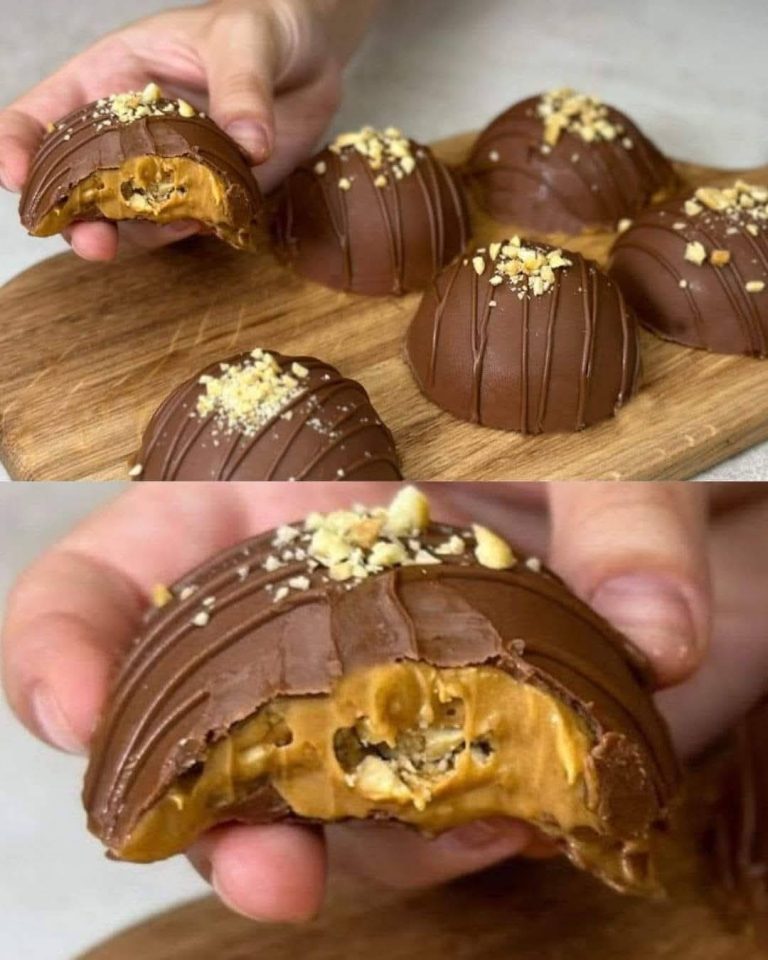
Step 7: Fill the Domes
Once the chocolate shells have set, add a spoonful of the caramel mixture into each dome.
Sprinkle the chopped nuts over the caramel to add a delightful crunch.
4. Seal the Domes
Step 8: Add More Chocolate
Spoon additional melted chocolate over the caramel and nuts to seal the domes.
Smooth out the chocolate to create an even base, ensuring no caramel or nuts are exposed.
Return the mold to the fridge to set completely, about 1-2 hours.
Tips for Success
Preventing Sugar Burn: While making caramel, ensure to stir frequently and keep the heat medium to prevent the sugar from burning.
Smooth Chocolate: Adding sunflower oil to the melted chocolate helps achieve a smoother consistency that coats the molds better.
Even Coating: Use a brush or the back of a spoon to evenly coat the silicone molds with chocolate.
Cooling Time: Allow the caramel to cool slightly before filling the chocolate shells to prevent melting the chocolate.
Storage Tips