Growing potatoes can be a rewarding endeavor, especially if you follow the right preparation steps before planting. While these steps aren’t mandatory, they can significantly improve your harvest. This guide outlines the preparation process, including sprouting, cutting, and enhancing your soil with wood ash to ensure your potato plants thrive.
Step 1: When to Plant Potatoes
Potatoes can be planted about two weeks after the last frost. Ideally, soil temperature should be at least 7°C (45°F) to promote healthy growth. Depending on your climate, this period typically falls in March or April.
To maximize your yield, begin preparing your seed potatoes at least a month before planting. Early preparation ensures your potatoes are ready to sprout and grow as soon as they are placed in the ground.
Step 2: Sprouting Your Potatoes
Sprouting, or “chitting,” is the process of encouraging your seed potatoes to develop shoots before planting.
- Select the Right Potatoes: Use seed potatoes, which are smaller than those typically consumed. These are specifically intended for planting.
- Provide the Ideal Conditions: Place the potatoes in a dark area with a temperature of around 21°C (70°F). Store them in a single layer in a bag, box, or similar container.
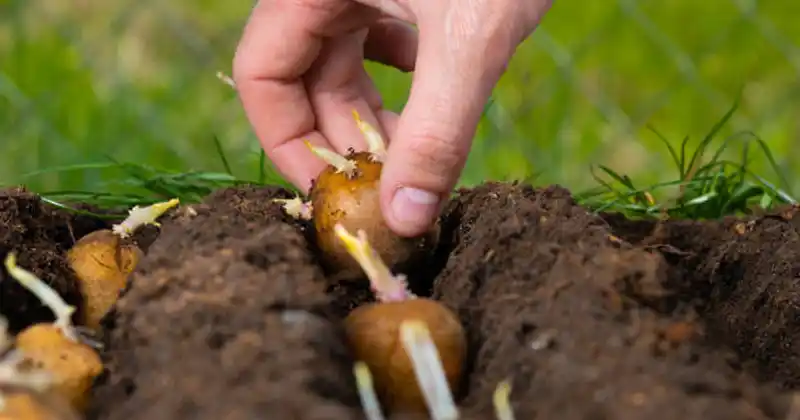
- Monitor the Sprouting Process: Within 7–10 days, sprouts should start to appear. Once sprouted, transfer the potatoes to a cooler spot, around 10°C (50°F), with some light exposure. This slows growth and strengthens the sprouts.
Sprouts are ready for planting when they are 3–5 cm (1–2 inches) long. If planting is delayed due to weather, you can further reduce the temperature to slow sprout growth
Step 3: Cutting Seed Potatoes
see next page 💕👇